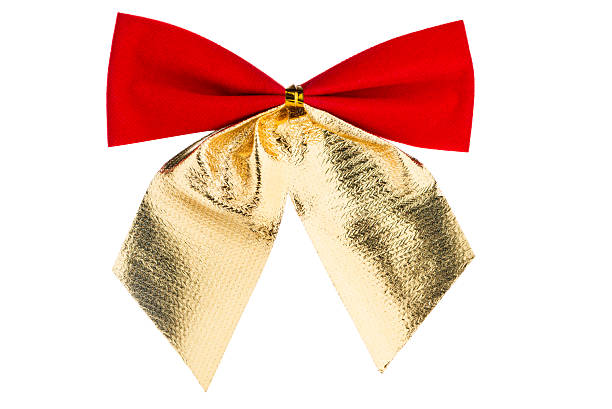
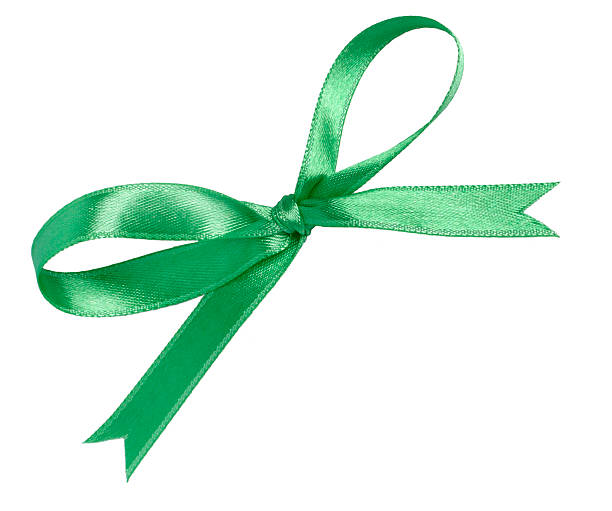
Have you ever gazed at beautifully wrapped presents or elegant hair bows and wondered, How are those perfect bows made? The secret lies not just in the finesse of the maker, but also in mastering a few simple steps. In this article, we will unveil the process, and you’ll see that making a bow out of ribbon is so easy, you’ll wonder why you didn’t learn it sooner. Bows bring a touch of elegance and fun to wrapping gifts, fashion accessories, and decorations, and we’re about to guide you through creating your first of hopefully many charming bows.
Materials Needed
Before we jump into the process, let’s ensure you have all that you will need. Start with at least two different types of ribbon for variety – one can feature longer tails, and the other could be for making smaller loops. A good pair of sharp scissors is essential for cutting the ribbon smoothly, and you’ll need a lighter or some clear nail polish to seal the ends of the ribbon, ensuring they will not fray. A ruler might come in handy for measuring, and some thin wire or thread will keep your creation together.
- Ribbon (assorted sizes and types)
- Sharp scissors
- Lighter or clear nail polish (for sealing ends)
- Ruler (optional for measuring)
- Thin wire or thread
Selecting the Right Ribbon
When deciding on ribbon, consider the project at hand. For wrapping gifts, a sturdier ribbon with wire edges will hold its shape well. Conversely, for hair bows, you might opt for something softer and more malleable. Always keep in mind that wider ribbons will make a larger statement – creating one large, expressive bow – while thinner ribbons are ideal for delicate accents or smaller loops. Choose a style with a bit of stiffness if you desire three loops or more, as it will help maintain the bow’s shape.
Preparing to Make the Bow
Cutting your ribbon to the correct length is vital. For a classic gift bow, a good guideline is five times the length of the longest side of the gift box. If you’re making hair bows, the length will vary; smaller pieces might suffice. To prevent fraying, lightly run a flame along each cut edge of the ribbon – but be cautious. Or, for a no-flame option, a dab of clear nail polish will do the trick. Then fold the ribbon at its halfway point to mark the center, which will be the largest loop of your bow.
| Ribbon Type | Ribbon Width | Suggested Length for Bow |
|---|---|---|
| Wired Edges Ribbon | 2-3 inches | 60-90 inches |
| Soft Ribbon (Hair) | 1 inch | 30-45 inches |
Step-by-Step Instructions
Creating your first ribbon bow is an adventure into the world of craft – and here’s how you can step into it confidently:
- Creating the Base Loop Start by holding the ribbon by its center, the point where you made the initial fold, which will form the first and largest loop. The tails should be of equal length on each side. Then, take one side of the ribbon and create a small loop by bringing it back to the center.
- Adjusting the Loop Size Once you have made the loop, adjust it by pulling the sides. You want the loops to be even on both sides. This first set of loops is the foundation of your bow; it sets the stage for subsequent smaller loops and longer tails.
Shaping the Bow
As you proceed from the base loop, the magic truly begins to unfold. For a simple yet elegant bow:
- Forming Additional Loops Take the length of the ribbon hanging on one side and bring it back to the middle to form a second loop. This loop should be slightly smaller than the first. The idea is to create graduated layers, with the smallest pieces in the topmost section of the bow. You’re essentially folding the ribbon back on itself, alternating from side to side until you have at least three loops on each side.
- Securing the Center You might feel like you need extra hands, but do not fret. Once your loops are in place, then wrap a piece of wire or thread around the center point, tightly knotting or twisting it to secure the loops together. This central axis holds the bow’s integrity, so ensure it’s firm and snug.
Finishing Touches
After you’ve secured the center of the bow, the next steps will bring it to life and make it ready to adorn your gifts, hair accessories, or any other project you have in mind.
- Fluffing the Loops This is where you transform a simple construction of loops and tails into a magnificent bow. Gently tug and twist each loop to shape it into an appealing form. The wire edges, if you’re using wired ribbon, make this step easier and permit exceptional creativity. Don’t hold back – fluff, puff, and adjust until each loop stands out frillily, creating a robust and inviting bow.
- Attaching the Bow to Your Project If you’re attaching the bow to a gift, using the longer tails can be your best option. Wrap them underneath the gift and tie a knot, or tape them down discreetly. For hair bows, you might need a hot-glue gun to attach the bow to a barrette or hair clip. Ensure that everything feels secure, and voilà, you’ve just elevated your gift wrapping or accessory-making to a new level with a custom, handmade ribbon bow!
Variations of Ribbon Bows
Now let’s talk about the versatility of ribbon bows and the different types you can create:
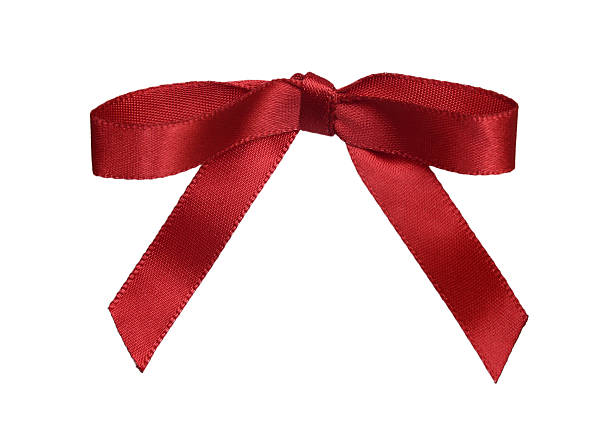
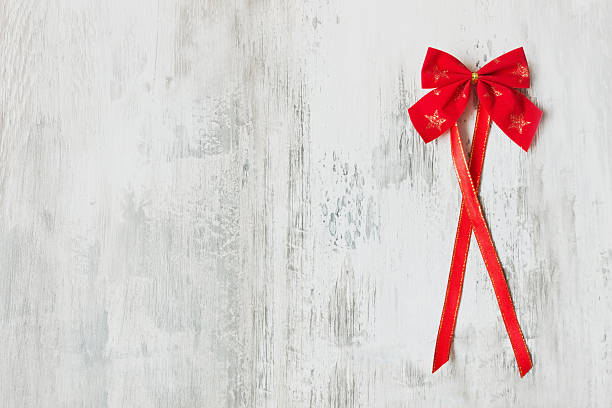
- Classic Bow: Perfect for gift wrapping, it consists of symmetrical loops and tails. It’s simple and timeless.
- Double Bow: This involves making two bows – one slightly smaller than the other – and placing the smaller on top of the larger for a fuller effect.
- Rosette Bow: Ideal for creating a flat, flower-like design with loops that circle around a central point, creating the appearance of petals.
Troubleshooting Common Issues
Creating the perfect bow might come with a few obstacles, but here’s how to overcome them:
- If your bow looks limp, try using a ribbon with wire edges or stiffening it with some spray starch.
- For loops that aren’t symmetrical, patiently adjust them by pulling the loops into place or recutting the tails for balance.
- To prevent sliding, make sure to tie your securing wire or thread tightly. If your ribbon is smooth and slipping is an issue, a small dot of hot glue between layers can work wonders.
Conclusion
Congratulations! You’ve navigated through the delightful process of creating your very own ribbon bow. With practice, these steps will soon feel like second nature, and you’ll be adorning everything from wrapping gifts to hair bows with your handcrafted, personalized touch. Remember, the beauty of bow-making lies in the personal flair you bring to it, so don’t be afraid to experiment with sizes, colors, and materials. Let your creativity run wild, and know that with each bow you make, you’re adding a special touch that signifies care and attention to detail.
FAQs
Q1: What is the best type of ribbon to use for beginners?
A1: Beginners will find it easier to work with wired ribbon as it’s forgiving and holds its shape well. It will help maintain the loops and make the learning process smoother.
Q2: How do you keep the loops even?
A2: Keeping the loops even requires practice. Begin by folding the ribbon at the center to create the first loop, then measure subsequent loops against this first one to ensure evenness. Adjustments can also be made after securing the bow’s center.
Q3: What do you do if the ribbon keeps slipping?
A3: If your ribbon keeps slipping, especially when working with silky materials, try using double-sided tape or a dot of hot glue for additional grip. Also, tightening the wire or thread around the bow’s center can prevent slipping.
Q4: How can you attach the bow to a hair clip?
A4: To attach a bow to a hair clip, use a hot-glue gun for a secure bond. Make sure the glue has cooled and set completely before wearing the clip to ensure that the bow will not detach.
Q5: Can you make a bow out of non-traditional materials?
A5: Absolutely! Feel free to experiment with various materials like burlap, tulle, or even paper. Each material will require a different technique, but the basic steps of bow making remain the same. Don’t hesitate to test and tailor the process to suit these unique textures.